I love any excuse to make caramel. It’s one of my favorite kitchen activities - I find it simple, peaceful, and most of all, magical. With so few ingredients, the caramel-making process really lets the magic of chemistry in the kitchen shine. And then…adding peanut butter and putting into the middle of brownies? I mean - COME ON.

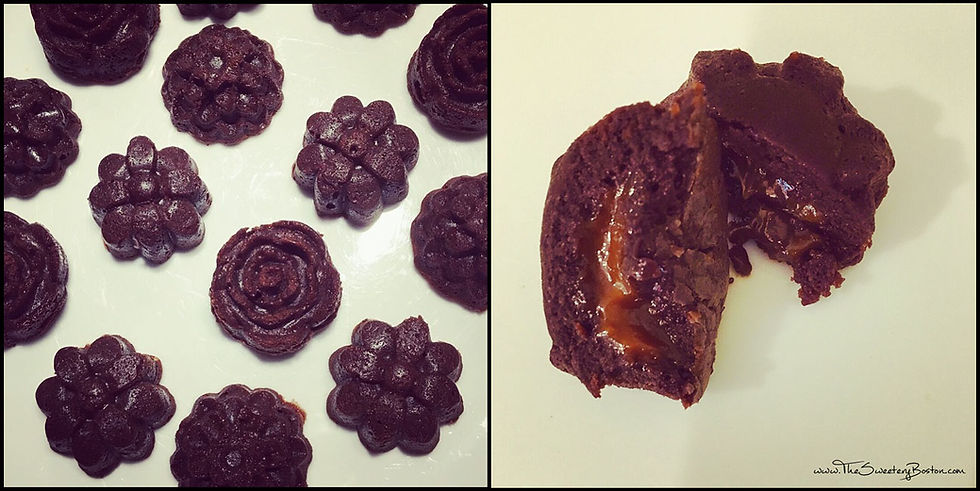
The original recipe from Christina Marsigliese of Scientifically Sweet is called “Brownie Cakes” and makes 12 cupcake sized brownie-cakes. However, after watching a bit of the Great British Baking Show, my friend and I decided to break out my super heavy petit fours pan and make cute mini ones. You can easily use a mini cupcake/muffin pan instead. They came out perfect, and we were happy to have more smaller ones than few larger. But, know that this exact same recipe can be used for a 12-cup regular sized muffin pan, just keep an eye on the bake time - they may need 1-2 minutes extra.

These are super delicious warm from the oven, but you can recreate that effect by microwaving them for 5-10 seconds once they’ve been chilled. They’re also really great and fudge straight from the fridge. For non-peanut butter folks, you could easily replace that with cookie butter or Nutella, but I wouldn’t try straight caramel as it would likely soak into the cake and disappear as it bakes.
Happy Baking!
adapted from Scientifically Sweet

MAKES 20 brownie bites
INGREDIENTS/SUPPLIES
1/2 cup sugar (100g)
1/2 Tablespoon light corn syrup
2 Tablespoons water
1/4 cup heavy or whipping cream
1/4 teaspoon vanilla
1/8 teaspoon sea salt
3 Tablespoons creamy peanut butter
3 ounces dark chocolate, callets or chopped
3/4 stick butter (6TB)
1 Tablespoon unsweetened cocoa powder
2 eggs
1/2 cup sugar (100g)
1/4 cup packed light brown sugar (50g)
1/4 teaspoon sea salt
1/2 teaspoon vanilla
1/2 cup AP flour (60g)
24-cup Mini muffin pan, or two 12-cup mini pans
Shortening or baking spray
Small saucepan
Hand whisk
Mixing bowls
Teaspoon and tablespoon measures
DIRECTIONS
To make the caramel:
Place 100g sugar (1/2c) and 1/2TB corn syrup in a small saucepan, and add 2TB water to moisten the sugar, taking care not to splash any of the sugar up onto the sides of the pan. Do not stir yet.
Heat on medium-high until it looks like the sugar is mostly dissolved, then give it a very gentle whisk, against making sure not to splash up the sides, until it’s fully dissolved. Then - don’t stir anymore! Let it come to a boil.
Measure out 1/4 cup cream, and let it sit at room temperature.
About two minutes after your sugar/water mix starts boiling you should hang out next to it and enjoy a break - just watch it. Once caramel starts turning color from clear to amber, it can go from light amber to burning VERY quickly. The amount of time it will take from this point until it starts turning amber is directly related to how much water you added at the beginning. It won’t start changing color until a significant amount of the water has evaporated, which is why you add only just enough to moisten the sugar. This stage could take 5-10 minutes, but since you never know, just be patient and don’t leave its side.
Once you see the amber color starting to develop around the edges, pick up your pan and give it a gentle swirl to distribute the color, then set it back on the heat to develop further until it looks like this photo.
As soon as it does, turn your heat off and add 1/4 cup cream. If your cream is particularly cold it might bubble up a lot so be careful (you can always warm it in the microwave beforehand if you’re worried, just don’t boil it). Whisk until homogenous - if your cream was cold it also might seize up and harden momentarily - that’s fine, just whisk over low heat until it melts and is fully incorporated.
Add 1/4 teaspoon vanilla, 1/8 teaspoon sea salt, and whisk well to combine.
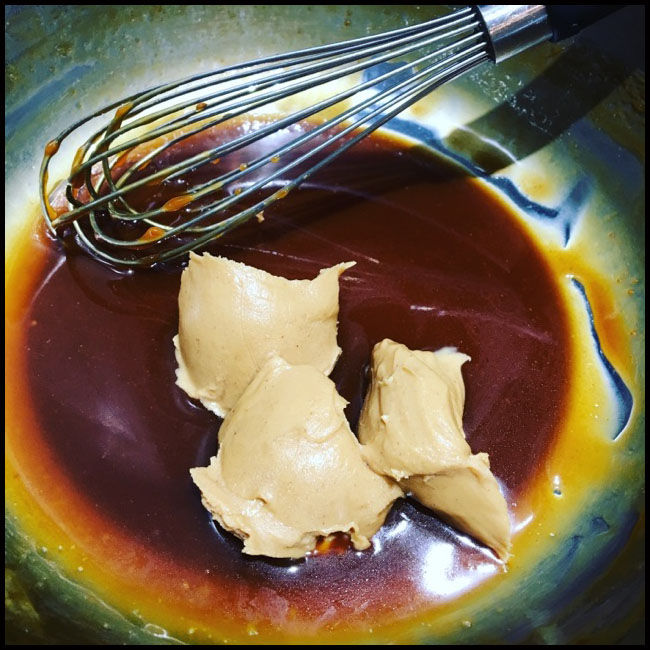
Separate 1/4 cup of caramel sauce, and mix in 3TB of creamy peanut butter. Set aside.
Save the leftover caramel sauce for ice cream, or anything your heart desires.
To make the brownies:
Preheat oven to 325 degrees. Grease 20 mini cups with shortening or baking spray.
Melt 3oz chocolate and 6TB butter in a microwave safe bowl, following the instructions from #9 on my first Tips & Tricks post.
In large mixing bowl, whisk 2 eggs until yolks and whites combine. Add 100g sugar and 50g light brown sugar, and whisk vigorously for 60 seconds.
Add the chocolate mixture, 1/2tsp vanilla and 1/4tsp sea salt, and whisk until smooth.
Whisk in 60g AP flour until just combined, about 10-15 seconds.
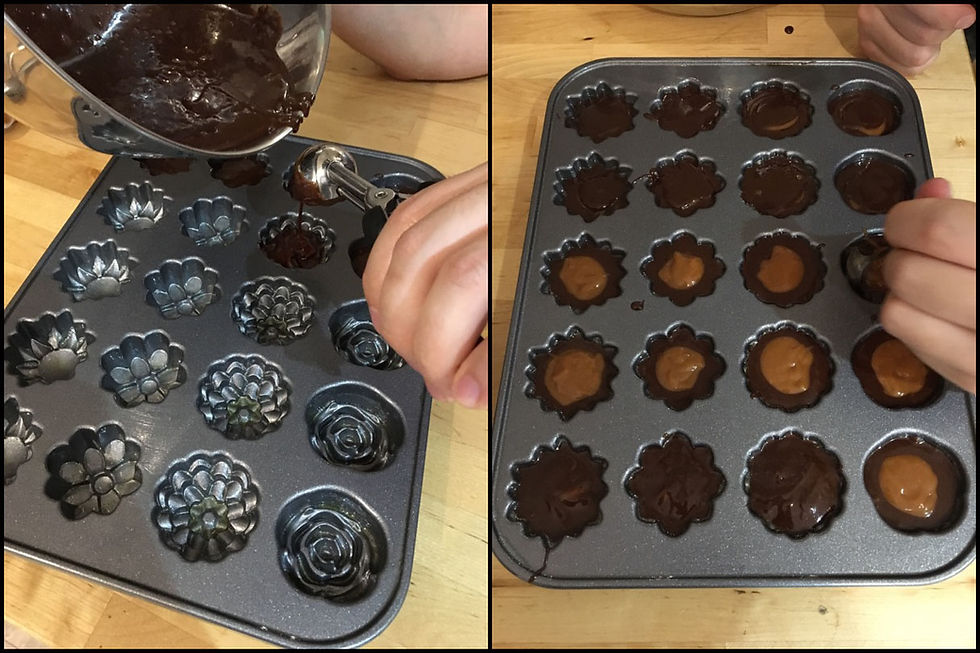
Divide the brownie batter amongst 20 mini cups, filling them about 3/4 full. Spoon 1/2 teaspoon PB Caramel into the center of each, and using a tasting spoon or a toothpick pull the brownie batter from the sides over the top of the caramel dollop to cover it.
Bake until slightly puffed, about 12 minutes.
Let cool in pan 10 minutes, then run a thin knife around the outsides edges of each to loosen, and invert onto a cooling rack.
Make sure you let them cool at least 10 minutes more before trying one, because the caramel center will be hot! They’ll keep in an air tight container in the fridge for a week or so, or frozen in a freezer bag for months or until they get freezer burn. To re-warm one from the fridge, microwave for only 5-10 seconds.


